After installing the hypervisor, the next step is to load the course virtual environment. If you wish, you should first familiarize yourself with an introduction to the available environments and their hardware and other requirements .
After completing the version of the virtual environment to be installed, download the machine's OVA distribution file to your computer, and then follow the instructions below to import the virtual machine into the hypervisor.
Importing a virtual machine into a hypervisor
VMware Workstation
After downloading the virtual machine file, start VMware Workstation. When the program starts, the home view opens by default, with the direct option of opening the finished virtual machine:
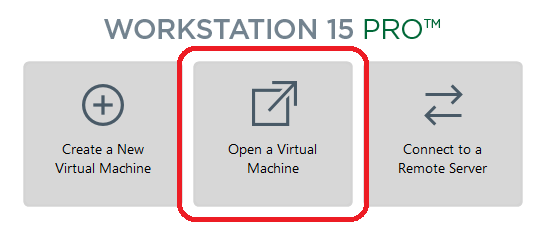
Click the open button, navigate to the folder where the virtual machine you downloaded is located, and select it to open.
VMware Fusion
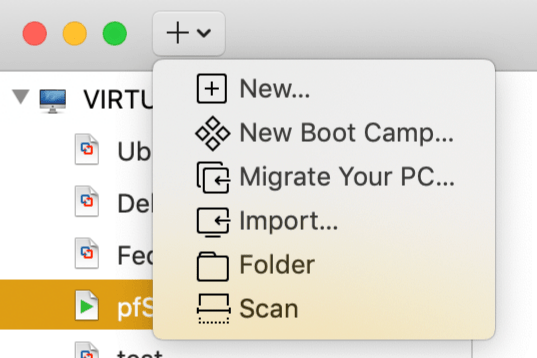
After downloading the virtual machine file, press the + button in the upper right corner of the program window and select "Import" from the drop-down menu:
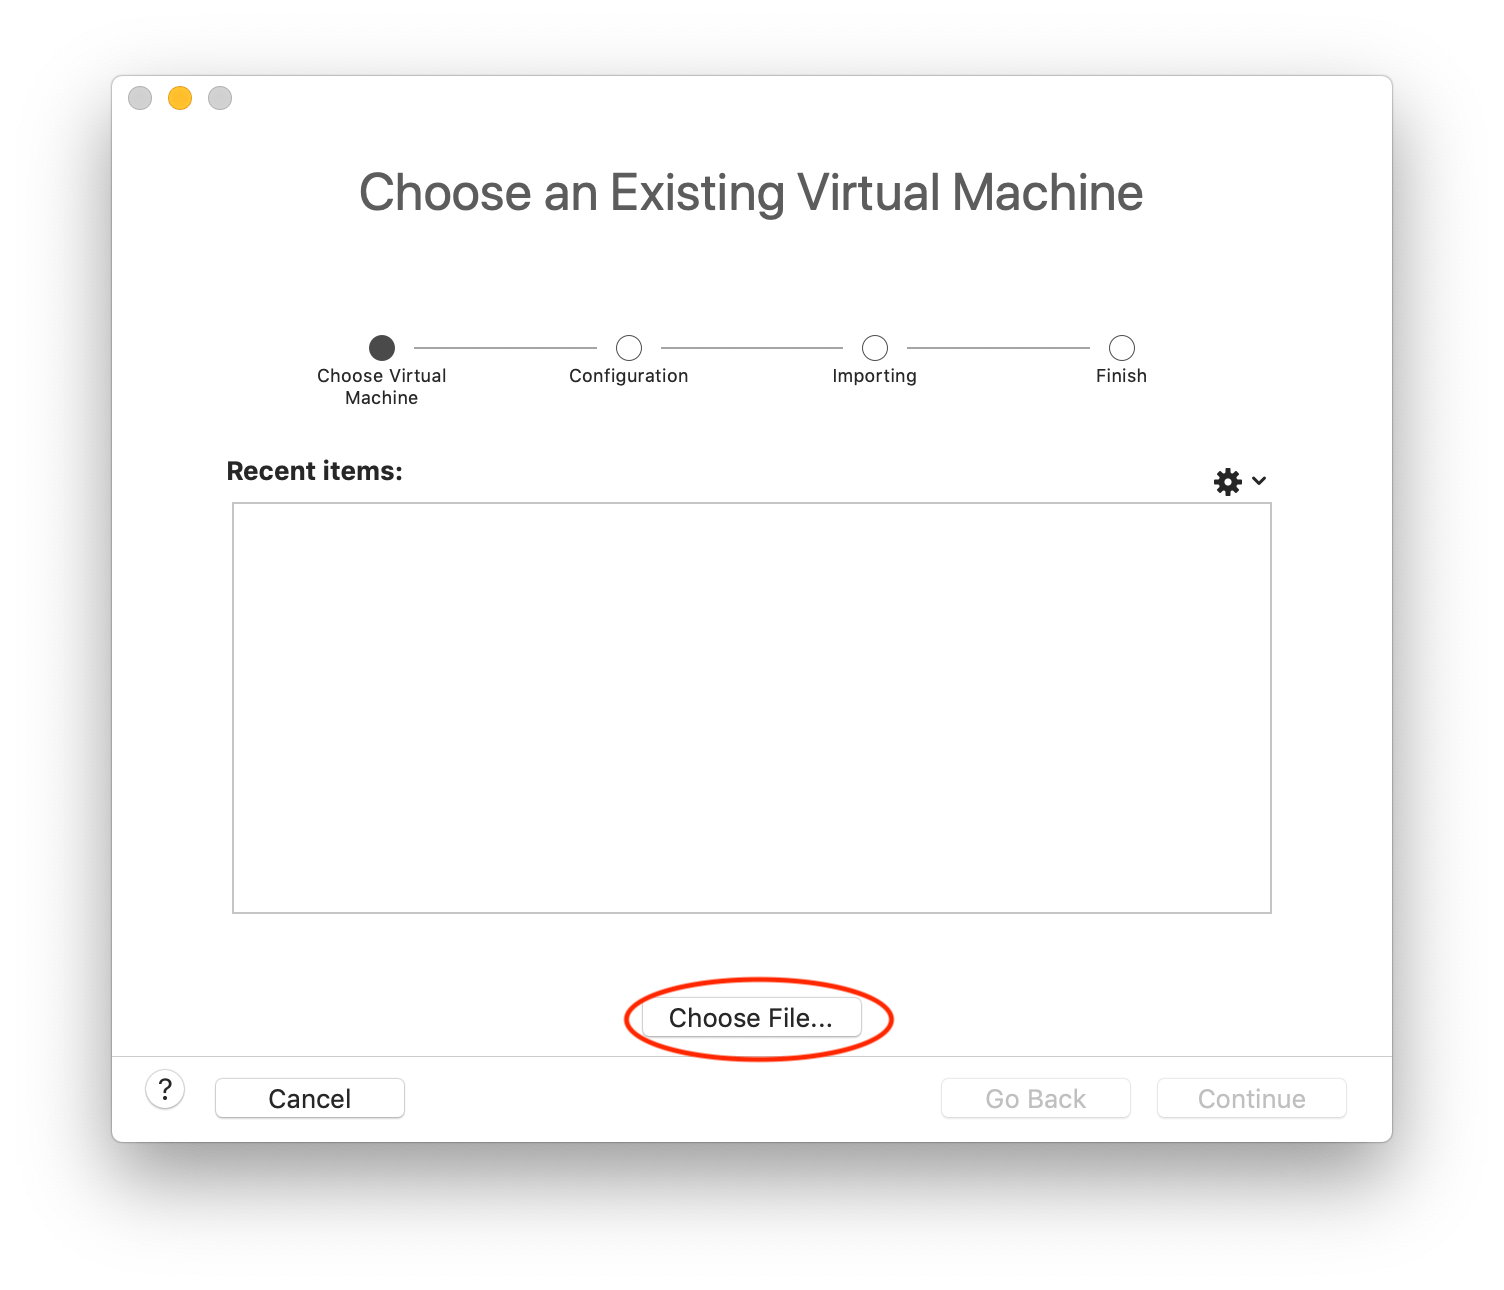
In the next window that opens, select "Choose File":
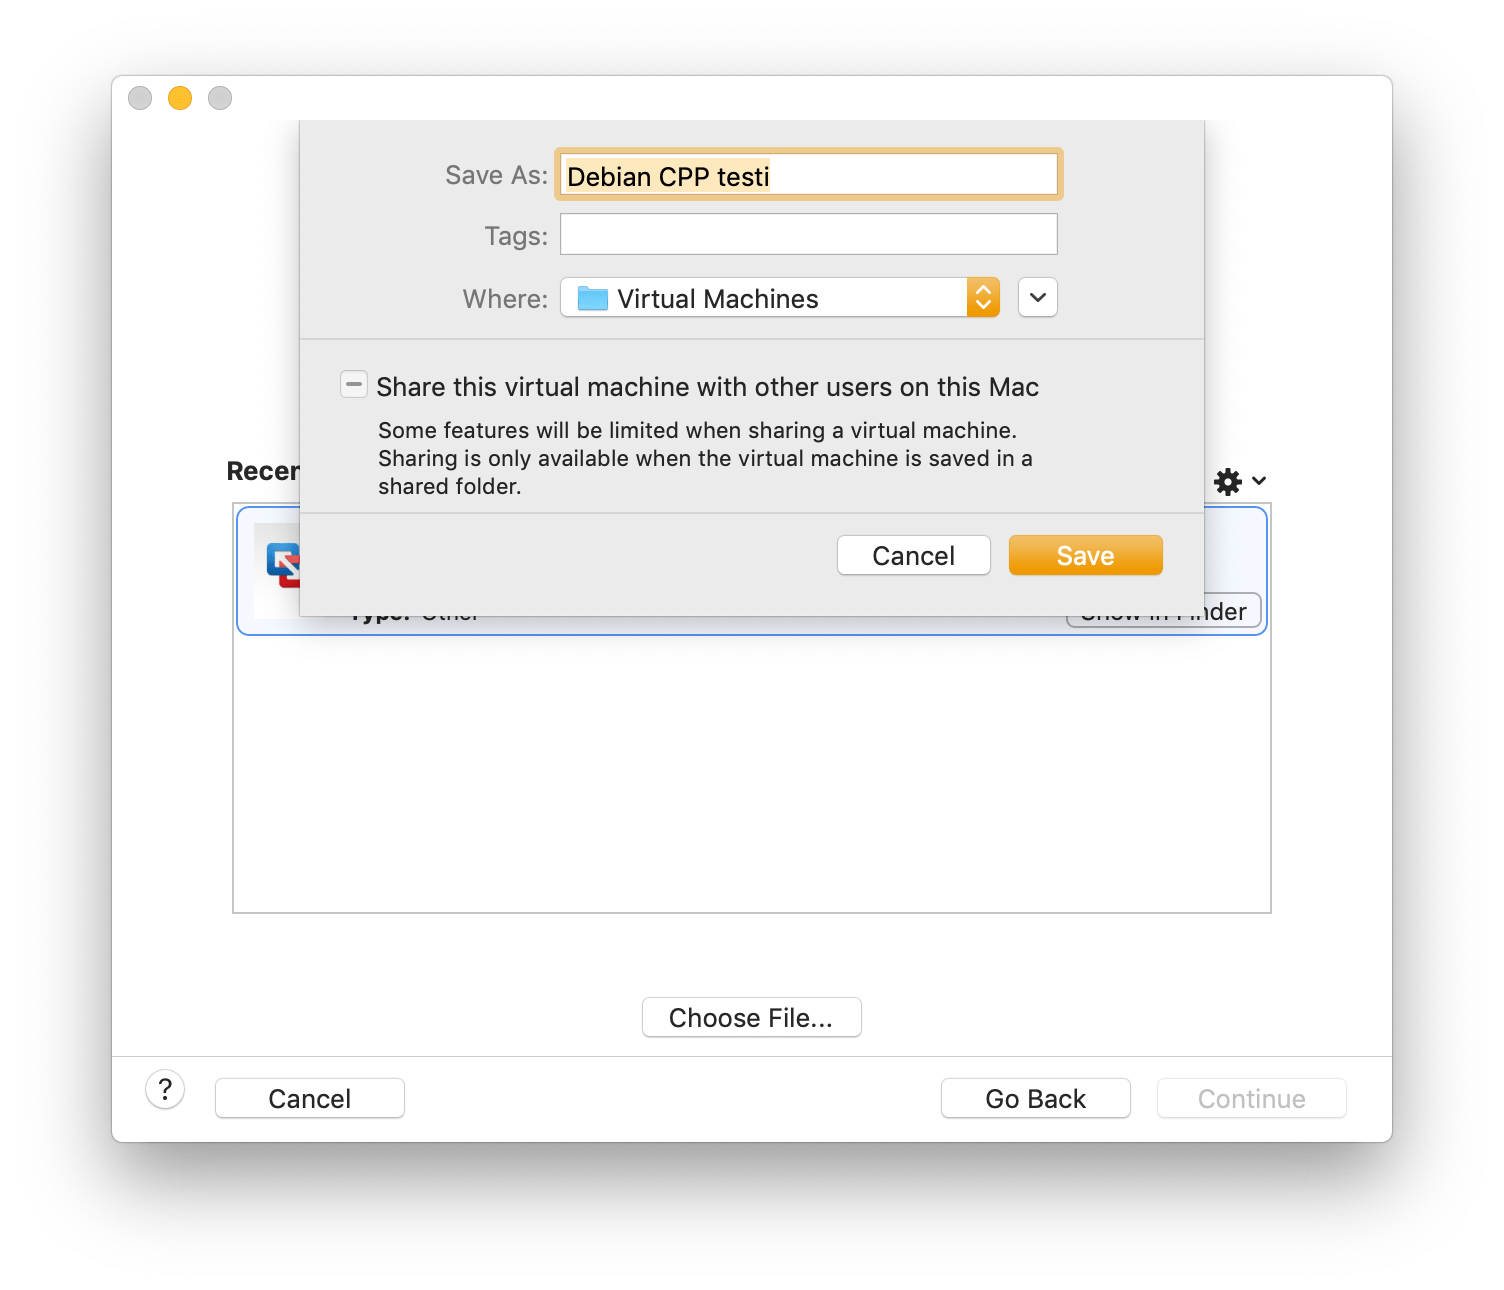
Finally, enter the file name to save the imported machine:
VirtualBox
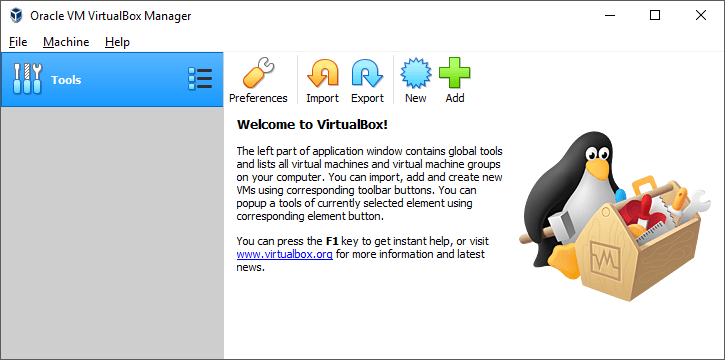
Once you have downloaded the virtual machine OVA file to your computer, double-tap it to open it and the VirtualBox import window will open. Click the import button at the bottom of the window to complete the import of the virtual machine. The virtual machine you imported appears in the user interface on the left, under the Tools button:
After importing, make sure you are using the VMSVGA video driver. (About Settings / Display). If you have a high-resolution screen, you can use the same tab to adjust the screen scaling slightly. On the Audio tab, select the driver you want to use. On modern machines, Intel HD Audio is generally the recommended choice. Be sure to click the "Enable Audio Output" and "Enable Audio Input" checkboxes. In the "General" section of the "General" settings, you should set "Shared Clipboard" and "Drag'n'Drop" to Bidirectional.
If necessary, see also the help for problem situations.
Gnome Boxes
Gnome Boxes provides a very minimalist interface for using a virtual machine. Start by adding a new virtual machine via the plus menu on the left:

Next, select the "select file" option:

Use the file search dialog to locate the OVA file downloaded to the machine. Then configure the virtual machine settings as needed:
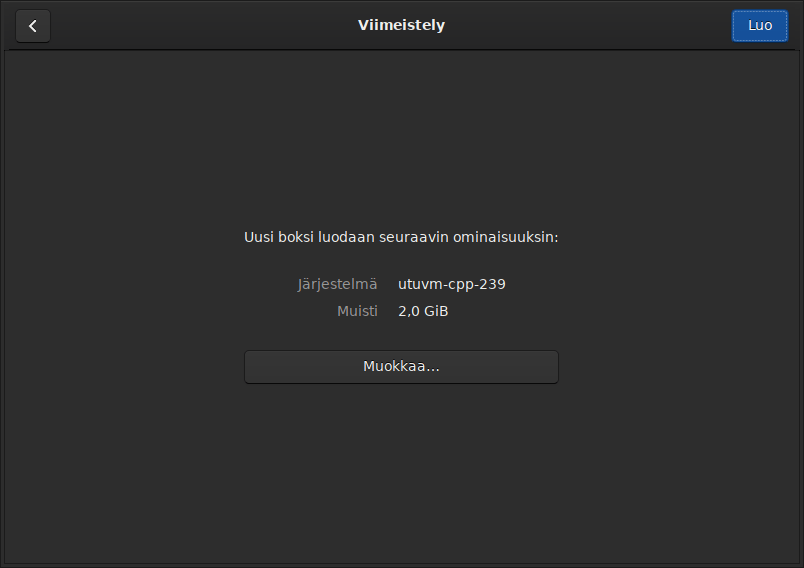
Finally, the virtual machine appears in the Gnome Boxes initial view as a new preview tile:
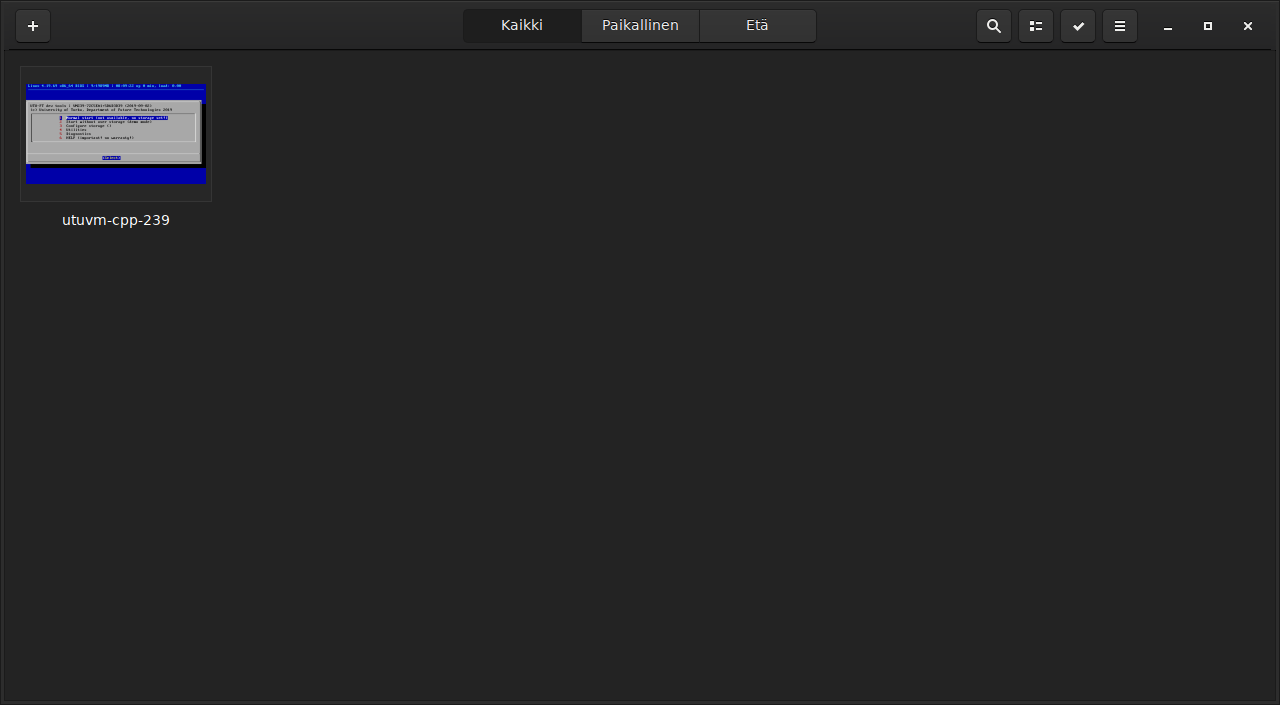
The machine also starts by default and can be double-clicked to open the entire window.
QEMU
The instructions below are mainly notes on the QEMU test run on Linux.
First, extract the disk image file with 7zip:
$ 7z x utuvm-java-430.ova
Normal start:
$ qemu-system-x86_64 -enable-kvm -smp 2 -soundhw hda -m 2048 -hda utuvm-disk1.vmdk
  -hdb utuvm-disk2.vmdk -boot once=c,menu=off -name utuvm -vga std -device qemu-xhci
-hdb utuvm-disk2.vmdk -boot once = c, menu = off -name utuvm -vga std -device qemu-xhci
Webcam sharing:
To share devices, use the lsusb -t command to check the addresses of USB devices ( USB_HOST & USB_PORT ):

Set the device information to the following environment variables:
$ export USB_HOST=1
$ export USB_PORT=5
Follow these steps to start QEMU:
$ qemu-system-x86_64 -enable-kvm -smp 2 -soundhw hda -m 2048 -hda utuvm-disk1.vmdk
  -hdb utuvm-disk2.vmdk -boot once=c,menu=off -name utuvm -vga std -device qemu-xhci
  -device usb-host,hostbus=$USB_HOST,hostport=$USB_PORT
Shared clipboard, etc. (requires spicy installation):
$ qemu-system-x86_64 -enable-kvm -smp 2 -soundhw hda -m 2048 -hda utuvm-disk1.vmdk
  -hdb utuvm-disk2.vmdk -boot once=c,menu=off -name utuvm -vga std -device qemu-xhci
  -device usb-host,hostbus=$USB_HOST,hostport=$USB_PORT -spice port=5924,disable-ticketing
  -device virtio-serial -chardev spicevmc,id=vdagent,name=vdagent
  -device virtserialport,chardev=vdagent,name=com.redhat.spice.0
$ spicy -p 5924
Deployment of a virtual machine on computer classes
Virtual machines can be used in the university's micro classroom. Download the virtual machine distribution file (OVA) to the microclass machine accordingly. When the browser asks if you want to save the file or open it in a program, select "open in program" and select VMware Workstation Player from the list. The virtual machine is automatically imported into VMware and the files it needs are copied to the network drive. The machine is then ready for use. In the future, the machine will be available from all machines connected to the university network with your own utu IDs.
Configuring device settings
After importing the virtual machine, it is recommended to check the configuration of the virtual machine and set it to the recommended settings of the virtual machines provided by the university. Some settings are incomplete by default (such as no sounds) because the OVA format of the hypervisors does not support saving all desktop settings.
The device settings are located in the VMware Workstation under the VM → Settings menu and in the VirtualBox under the Machine → Settings menu or can be directly opened with the Settings button in the main view .
Note! Changing the virtual hardware settings requires shutting down the machine instance before the setting can be changed. The instance can be closed from within it via the logout submenu of the Programs menu or from the machine-specific menu of the hypervisor.
Amount of memory
By default, the virtual machine has 2 gigabytes (GB) of memory and an additional 2 GB of swap space on the disk. When the allocated main memory is used up, the machine takes advantage of the site space, which manifests itself in a clear slowdown of the virtual machine. If the paging mode also runs out, the virtual machine may hang so that it requires a manual restart.
The recommended memory size (2 GB) should be sufficient, for example, in the software development of course projects using IDE environments. The recommended size is calculated on the assumption that the machine has at least 4 GB of main memory (RAM). Computationally, the recommendation consists of 2 GB reserved for a virtual machine, 0.25-0.5 GB for a hypervisor, 1 GB for basic operating system functionality and desktop, and 0.5 GB for backup / other programs. If you only have 4 GB of main memory, you should not run other programs at the same time as the virtual machine.
If your computer has 8 gigabytes or more of main memory (RAM), it may be justified to increase the memory usage of the virtual machine to, for example, 4 gigabytes or more. The more memory a virtual machine has in general, the smoother it is. On the other hand, allocating too much memory can already slow down your computer's operating system. A reasonable amount can be deduced from the above calculation formula.
If only 1--4 GB of memory is available, it is recommended that you download the USB version of the virtual machine instead of the virtual machine and run it from a USB stick. If you are satisfied with the command line tools in the development work and, for example, with the Geany editor instead of Eclipse, the machine will only have 512 megabytes of memory. In this way, very low-power machines are also supported. It is still worth remembering that at the end of 2019, for example, the price of RAM is about 2-3 eur / GB, so adding / updating memory combs can be a rather inexpensive solution for memory.
Number of processors
By default, a virtual machine utilizes two processor cores or processors. If the computer you are using has a quad-core processor, or the processor has up to 8--32 cores, it may be justified to increase the number of processors used by the virtual machine. In general, the more processor cores in use, the faster the virtual machine always runs.
If the course practices programming with threads, it may be desirable to use as many processor cores as possible for the desired operation of the program. To switch in VMware, you can shut down the virtual machine, select the virtual machine settings, and point to "processors & memory" for the required number of processors. The setting is activated the next time the virtual machine is started. In VirtualBox, switching works similarly.
Note! Kernels are not loaded when the virtual machine is "idling", so it is even recommended to always specify the maximum number of kernels to use. However, it is recommended that you use no more than the number of host cores minus one so that the host does not suffer from the load on the virtual machine.
Note! Increasing the number of cores can increase the memory requirements of the virtual machine, as a result the virtual machine may have a larger number of threads and processes running in different operations at the same time. Using multiple cores at the same time can increase, for example, the number of simultaneous translation processes when programming.
After importing into the hypervisor, you can next start the virtual machine for the first time.